Do you want to search in all categories or in this category ?

This post gives you a detailed outline of how you can build your own conversation flow. If you would like to see information on the general conversation flow settings, click here: Take control of your customer conversations with Conversation Flows
Okay, so you want to create your own conversation flow from scratch. What happens next? Well, no worries as we're here to help!
Read on and follow these guidelines so you can set-up your own conversation flows like a pro!
In summary, you want to start by defining the messages and questions you want your bot to display to your contact.
Next, you have to set-up hidden steps for your bot to follow and then chain or split your messages into different "tree branches" based on your contact input, their attributes and many other conditions. You can also create steps to activate Xeno’s different features (e.g. Pre-qualification Questions, Topics and Knowledge Base) ensuring a seamless flow of conversation between you, the chatbot and your customers.
Plus, you can set-up messages in different languages too! (It’s not Xeno if it's not multilingual, right?)
Okay, now the intro's finished, let's move on to the gritty details.
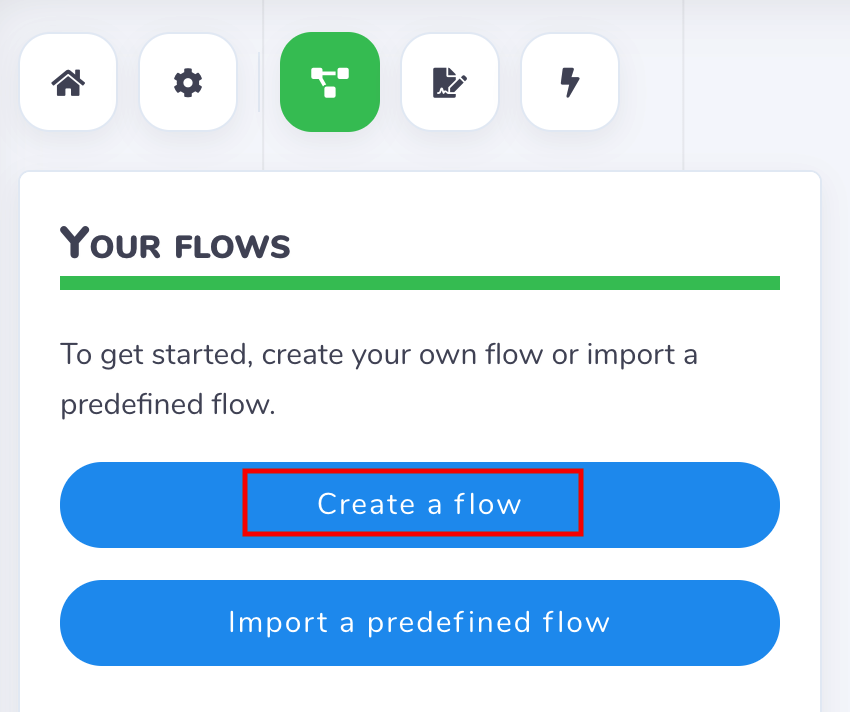
To get started, select the option "Create a flow":
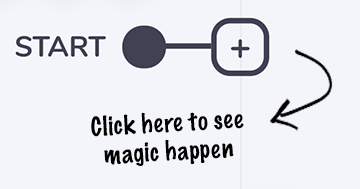
The "START" step implies that a contact has initiated a conversation with you.
Next, select a step by clicking on the (+) sign.
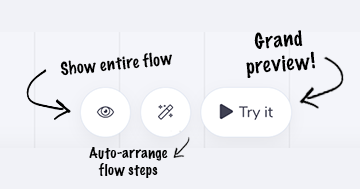
Tooltip: Throughout the whole process, you will be accompanied by three tiny buttons at the bottom of your page. This will give you three "magical" commands to make this daunting task so much easier.
Still with me so far? You should know, before creating a conversation flow tree, you need to be familiar with the elements and actions you can connect to one another. Here we're gonna start to introduce to you the different "steps" you can add to your conversation flow. They are divided into two different categories: displayed steps and hidden steps. More information below:
These are messages and elements that will be visible to your contact during the conversation. Here are the available elements that you can show to your customers during the conversation flow:
Message
Sends a simple message to the contact.
*Compatibility: Chatbox, FB Messenger, Twitter, SMS
The Save contact input option allows you to give a name to this step and save the contact's answer to your database so you can then reuse the same answer later on in the conversation flow. This option only works when the step includes buttons or inputs.
Message with buttons
Add buttons to your messages that will alter what comes afterwards.
*Compatibility: Chatbox, FB Messenger
There are two types of buttons available: standard button or link button. So which button to choose?
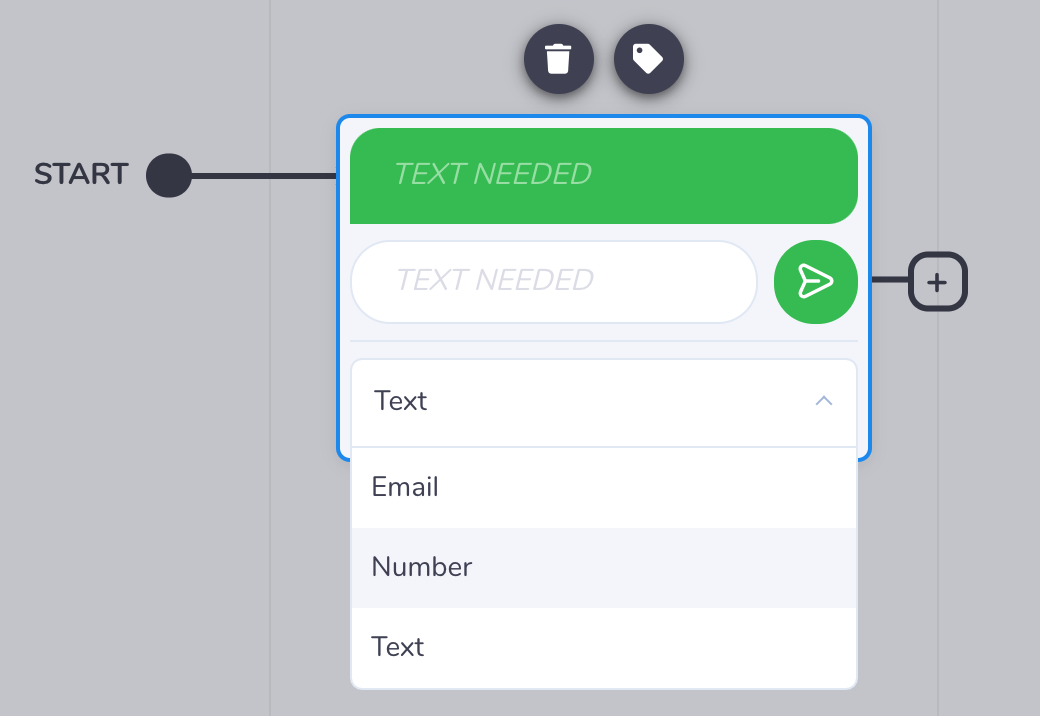
Input
Sends an input field in which the contact can provide information. There three available field formats: text, number or e-mail address. You can change the title of the input depending on the information desired (e.g. age, gender, customer number, etc.).
*Compatibility: Chatbox, FB Messenger
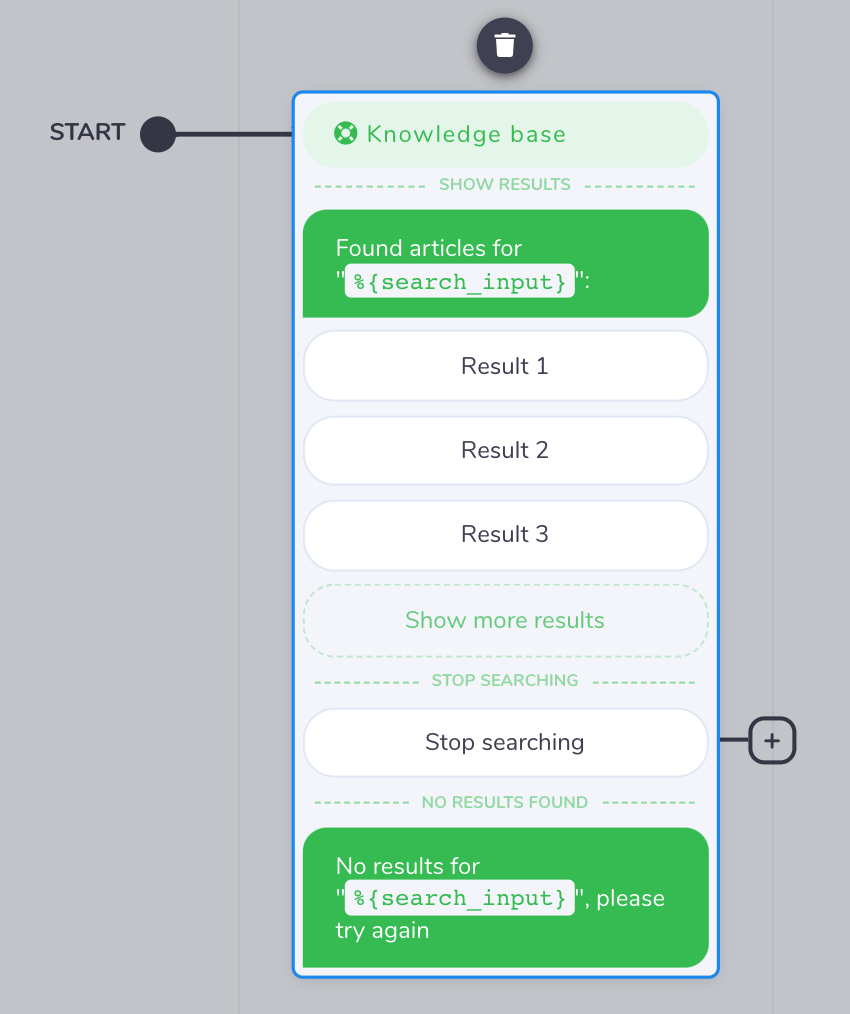
Knowledge base
Allows the contact to browse your knowledge base in a conversational way.
*Compatibility: Chatbox, FB Messenger
Single qualification question
Sends a specific qualification question.
*Compatibility: Chatbox, FB Messenger
Multiple qualification questions
Sends all your qualification questions.
*Compatibility: Chatbox, FB Messenger
Select the topic
Sends a message with multiple buttons allowing the Contact to choose one of the configured Topics.
*Compatibility: Chatbox, FB Messenger
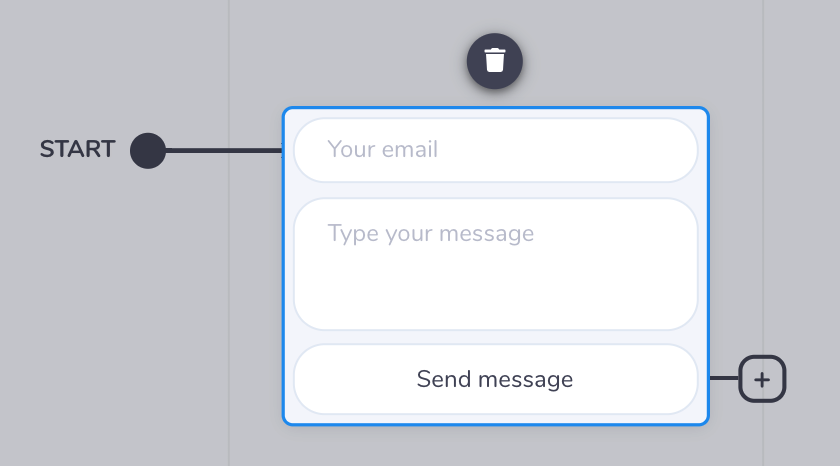
Email form
Displays a form that will allow the Contact to send an email to your brand email address.
*Compatibility: Chatbox, FB Messenger
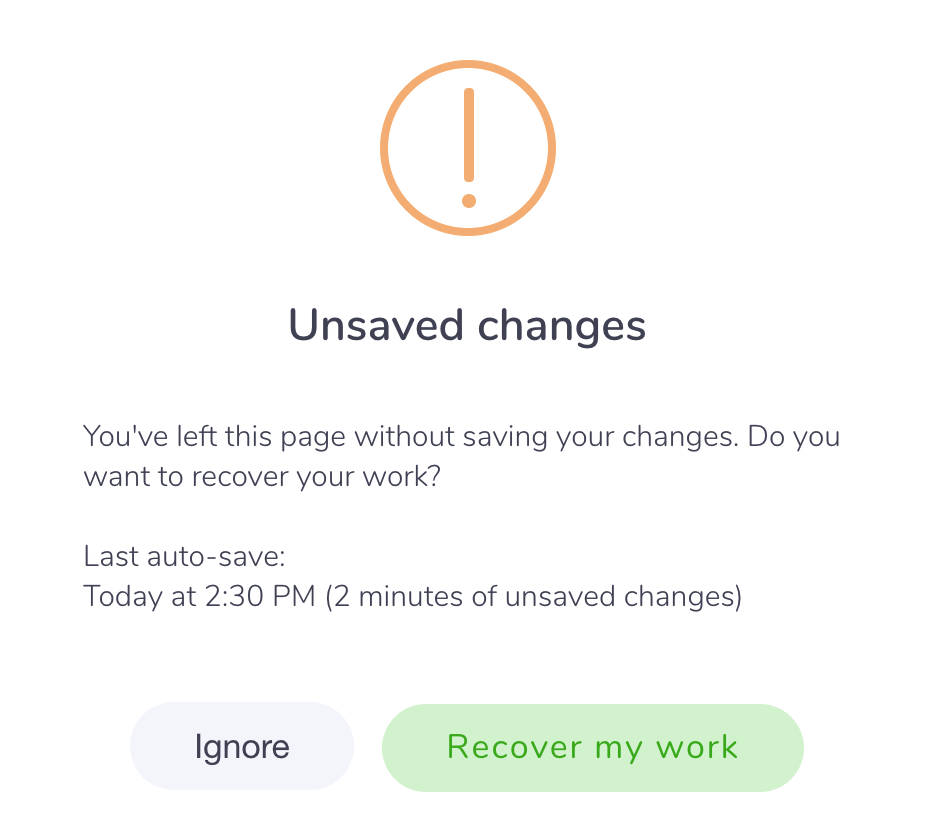
Note: Should you ever experience a screensaver timeout or your window closed unexpectedly, do not worry! The built-in auto-save feature lets you get back to where you left off.
I will now introduce you to the hidden steps. Hidden? Why is it hidden, you may ask? Well, basically, these are the instructions that you give to your bot so it will know what to do on your behalf. These are not visible to your contacts and will only be visible to you (and your bot while it works behind the scenes). Pretty cool, right?
Request human assistance
This step will invite all team members who are assigned to the previously selected topic.
*Pro-tip: Combine with "Set the topic" step to call team members from a specific topic.
Internal message
Send an internal message (only visible to your team).
Set the topic
Defines the topic of the conversation, affecting which team members will be invited to it with "Request human assistance."
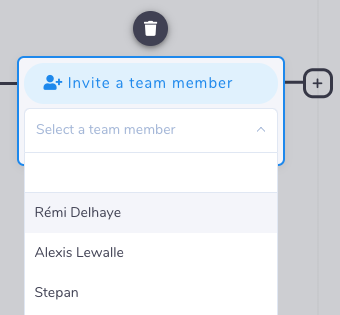
Invite team member
Invite a specific team member.
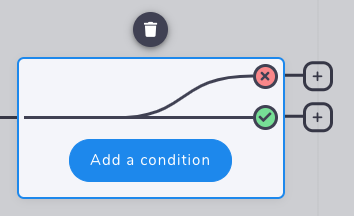
Add a condition
Split the flow into two different flows based on a specific condition.
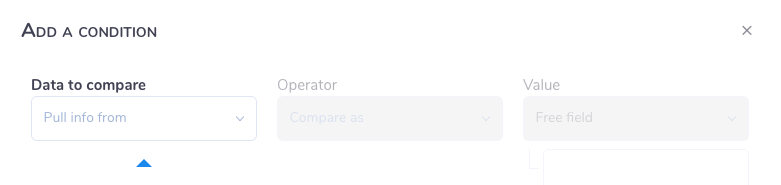
Once you click on “add a condition” it will pop-up a new window:
Note: The first column represents the data to compare. It can either be a piece of Contact Information (such as their name), or data from the Conversation Context.
Steps previously created may generate information in the Conversation context, allowing you to create a condition based on any information available beforehand in the flow. Some information is created implicitly, but you can also tag a Message Step or an Input Step to utilize user input accordingly.
Add a straight line
More of a graphic aid than a bot step but it helps to improve your flow's readability. Has no other effect.
Set contact attributes
This step will fill in the Contact's attributes based on their input in previous steps.
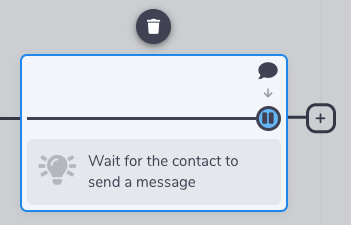
Wait for contact
The flow will pause at this step to allow the contact to send a message. The flow will resume right after.
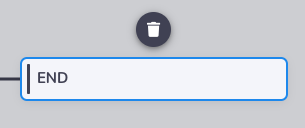
If you reached this part, congratulations! This means you're about to get finished. We'll close this guide by showing you how to end your conversation flow.
Stop conversation flow
Declares that the flow will stop from here.
Close conversation
Ends the flow and closes the conversation. Can be followed by surveys if you have already set them up previously.
Endnotes: Whew! That was really long! But as you can see, we put a lot of effort into developing this powerful feature so you can automize your conversations in the long run. Yes, it requires a bit of patience setting it up the first time, but once it's done, you're all set! You can sit back, relax and let your bot do most of the work! Till next time! :-)


Best practices and tips and tricks to set up your Xeno account.